

Ravensbourne Digital Workbook
What went well?
What didn’t go well?
What would I do differently?


In terms of the final images, I am very pleased with them; though looking at them together I have noticed that there is more of an emphasis on drinks rather than food. The weakest image by far is the last one, of the pudding on the cake stand. By this point, we only had five minutes left to shoot, and had little time to reframe, recompose, or relight. The first image shot here would have looked considerably better, with a much darker background which, annoyingly, we couldn’t work out how that happened.

The darker background would have allowed for the decorations to stand out more besidee the pudding.
I have worked out that throughout this shoot, providing everyone arrives on time and we are able to work unhindered, I will be let with approximately 16.6 minutes to shoot each image. I can increase this time per shoot, as four of the images are very similar (in a sort of ‘progression’ style, so I will in practice have around 16.6 to 25 minutes per image.
The images are a mix of different angles, and I am told that the camera stands needed to shoot the top-down images, which we have available to us, are very temperamental. This means I will try to shoot these images first.
TOP DOWN 1st – Page 2/3 – Mulled Wine and Canapes
TOP DOWN 2nd/5th – Page 6/7 – Mince Pie being eaten.
6th – Page 4/5 – Christmas Cake on a stand decorated with holly and berries, lights in the background.
7th – Page 8/9 – Gingerbread process
8th – Page 10 – Hot Chocolate mug w/cream and cocoa powder, mini gingerbread house.
9th – Page 11 – Biscuits with icing sugar – repeat pattern with one biscuit removed to show the ‘silhouette’ (see below).

The Phase One camera is a medium format system, which means that the lenses available to us differ from the ones we are used to.
For most of these images, I plan on using a 50mm (equivalent to a 28mm on a 35mm system), which is the widest lens available to us, however, for the top-down images (most likely the series of the mince pie), I will likely use a standard 80mm (equal to a 50mm on a 35mm system.)
After a successful meeting with my chef, who has also agreed to be my food stylist too, I now have slightly different ideas from my original plan, and also have a list of props I need to purchase.
Image 1 – My opening image has now changed, and will still contain the original idea in a way. Instead of a mix of food and drinks, there will now be a mulled wine pot with glasses, alongside a canape selection of glazed honey sausages.
Image 4 – Instead of having an image of biscuits from a low angle, this image will now involve the process of making a gingerbread house.
Image 5 – I am replacing mulled wine with a hot mug of chocolate, cream, Nutella and grated chocolate.
We have agreed to split the load, with my chef providing what she can, and then giving me the bill for whatever she needs to purchase.
I intend to join another student on a prop hunt tomorrow (13/11/18) around charity shops and vintage shops. As her shoot is before mine, we will be able to share props, also.
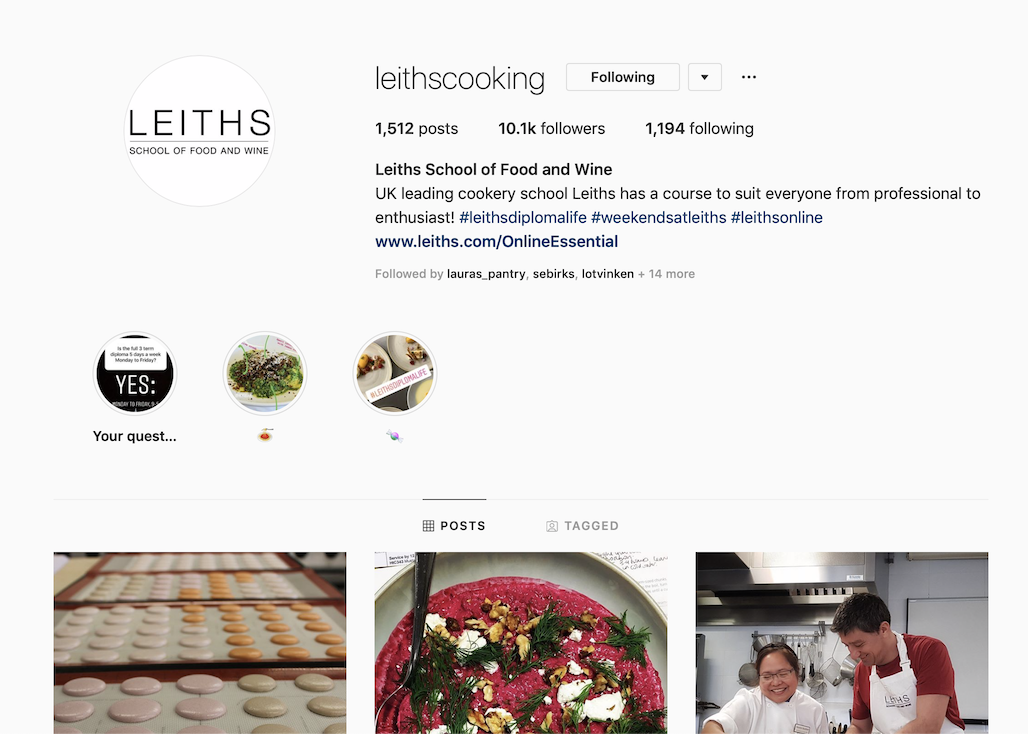
I have contacted 23 potential crew members for this food shoot (all of them being freelance chefs, food stylists or prop stylists) via Instagram and email, though I have found Instagram to be the most prudent way of getting in contact with these people much faster.
I prepared a proposition message, containing details of the shoot and introducing myself, sending it to those who I thought would be interested. I was able to find even more through the Leith’s Cookery School Instagram page, finding potential crew through their images and tags.
That being said, many of those who I contacted have not responded to my messages. Several who did are unable to make it to the shoot for various reasons
One home economist was interested, however, she needed to be paid for travel from Cardiff, and needed a prep day, and ultimately declined the offer.
I have been successful in finding a home economist, though, after sending all of these messages. She asked to speak to me (face to face or on the phone), and we discussed my plans. She seemed very enthusiastic to be working with me, and looks forward to working with me. I have since sent here my plans, and have mentioned that I am open to input from her in terms of layouts and colour/texture. She also has experience with food styling, through running her own blog, so if need be, I can use her as my food stylist too.
I now need to search for a food stylist and a prop stylist.


Now I have a rough plan of what I want to shoot and basic layouts for the food and drinks, I need to work out the order in which I want to shoot them to make the most of the time I have to shoot.
There’s an even split between images being shot from an aerial viewpoint, and from a side viewpoint, so I can spent roughly the same amount of time shooting for those. The images of the mince pie being eaten from above shouldn’t take too long, either, as they can be taken in quick succession.
Having learned yesterday that it would be a good idea to hire a prop stylist, too; I seriously have to consider my budget for this shoot.
I still wish to keep my budget at around £70, however, if I am to hire both a home economist, a prop stylist, and a food stylist, I will have to reconsider that initial budget.
I have decided that I will use pre-prepared food from supermarkets, rather than hiring a home economist. If need be, I will bake some things myself and bring them in. This will not have the same quality as if I had a home-ec do this, yet money for me is tight for me right now.
Further from this, I feel like a prop stylist will just be an extra person on set who will get in the way and bring little to the shoot, and drain the budget even further.
I am only really willing to spend the little money I have available on a food stylist, as I know this is something I, nor my assistant, will be able to do ourselves in the time we have.
A search for London-based food stylists returns many results, though the one that stood out most to me was a blog called The Little Plantation, owned and run by a photographer, food, and prop stylist called Kimberly; and came into existence as a result of her having a ‘mid-life crisis’.
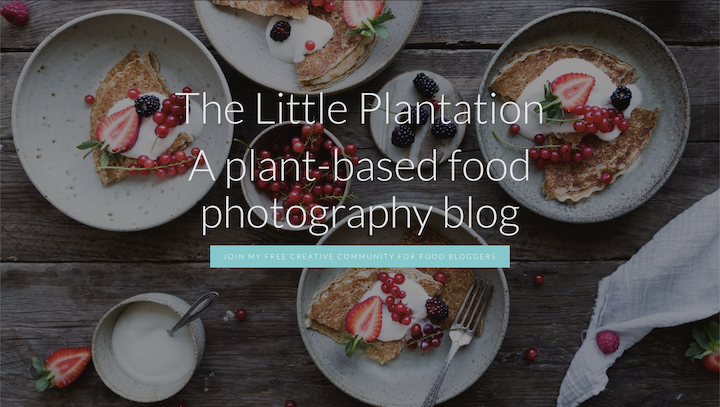
She has an extensive client list, including the likes of Waitrose and Tetley, as well as having work published in magazines such as Glamour and Cranks.
Her work focusses predominantly around veggie and vegan food, which I doubt should be a problem, as none of the food I’m wishing to photograph contains meat.
(Unrelated to this, I still need to find out if I am able to bring in alcoholic beverages into the studio to shoot.)
As a part of this shoot, I need to provide my first-year studio manager with the following before the shoot:
Most of these things I’ll likely hold back until a lot closer to the time of the shoot itself, however, this won’t stop me from working on them beforehand.

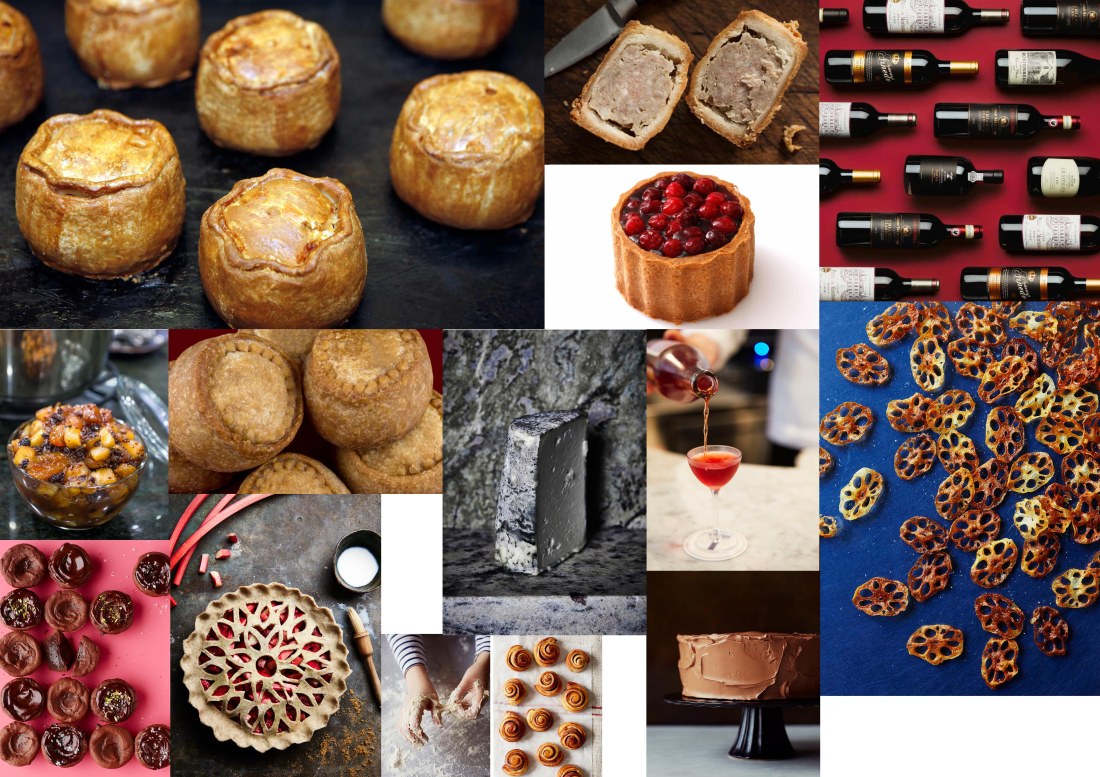
This has been a good exercise which has allowed me to pick out a lot of things between these images – including several Christmas themed images.
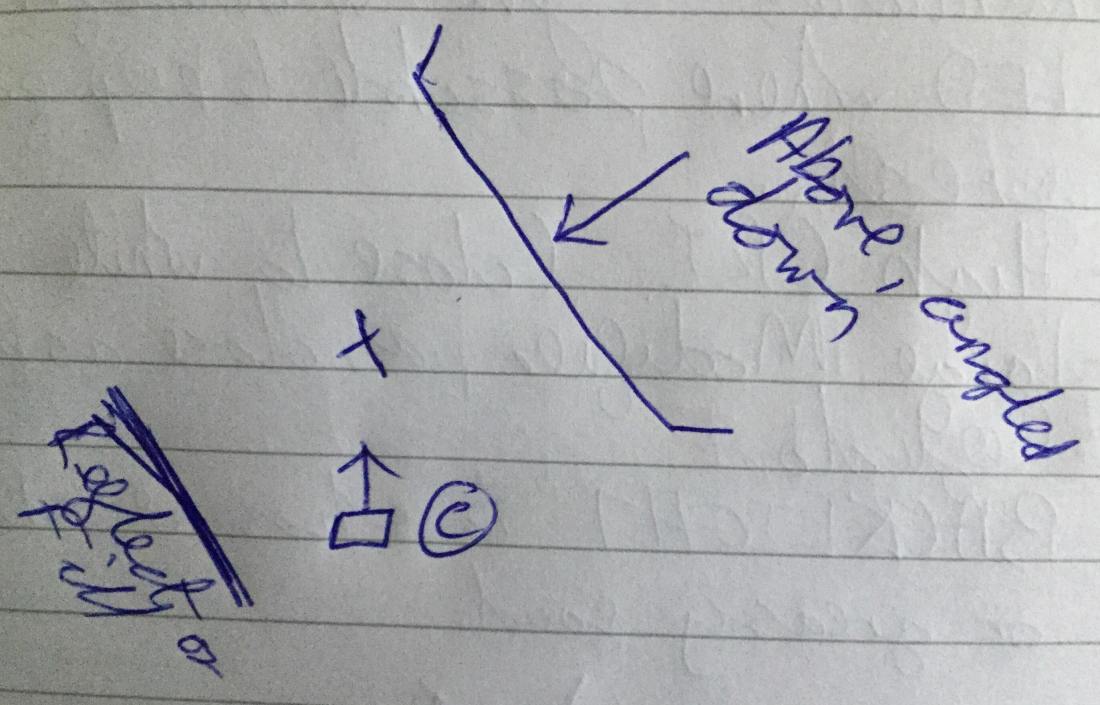
A common similarity among all of these images, as well as others I have seen in magazines, is that they are mostly shot from directly above, or at a very sharp angle – especially fairly ‘flat’ meals on plates. It only really tended to be cakes, ‘tall’ dishes, or large spreads.
The Christmas themed food images seem to use a much darker colour palette, with an emphasis on darker backgrounds and deep reds, which contrast the lighter elements of the food.
I particularly like how icing sugar has been used in one of the images to create a snowy effect.
Essentially, anything that is remotely food related can work in some way as a prop, even some of the food itself. I will also need to consider backdrops; ideally, I will find a way of acquiring a matt/velvet black sheet to use as a backdrop, or some other kind of linoleum covering to replicate a wooden table, perhaps.
Natural light is much more unpredictable and changeable than artificial light – which can create inconsistencies in white balance between each image within a shoot which would, in turn, increase the time spent editing to ensure all images are lit the same.
Artificial light can almost replicate daylight, so long as the light is modified with a large and heavily diffused softbox, has a very high CRI rating, and is placed as close to the food as possible without being in the shot.


If I am looking to try to recreate daylight as much as possible (if the weather conditions or my location within the studio don’t allow for it), so I will likely introduce a second continuous light source – or just use two fairly low powered flashes.
